I feel inspired to write about home brewing tips and techniques I’ve found useful. I am by no means a master brewer; my skills are squarely in the “Jack” category. However, I also don’t consider myself a beginner.
If no one finds this valuable, then hopefully at least someone will find it interesting or entertaining. If you’d rather read the words of a Master, pick up a copy of “The Complete Joy of Homebrewing.” It is an extremely useful book.
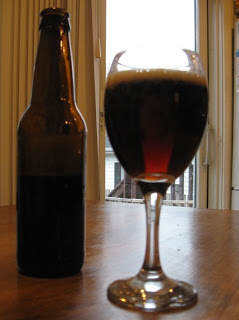 For a long time, crystal clear transparent beer simply didn’t matter. And then one day, someone invented glass drinking vessels. Once people were able to see what they were drinking, appearance became more important. Brewers invented new techniques, even new styles of beer, when presented with the prospect of drinking out of glasses.
So, just go get yourself some “It Comes In Pints” mugs. Relax, don’t worry, and have a homebrew.
Although most beers are best when they are “crystal clear,” some styles are not considered correct unless they are cloudy. For example, a Belgian witbier (wheat beer with coriander and bitter orange) such as Hoegaarden must be cloudy.
I’m an extract brewer, and I’m not as concerned with correctness as with making beer that tastes good to me. But if you drink your beer in a glass, it can be unappetizing to look at a murky, cloudy pint, possibly with bits of floating debris. The human mind is not easily fooled: even if you don’t need a blindfold or a ceramic mug to make that beer taste as good as it really is, your Significant Other probably does.
I haven’t read a lot about home brewing in many years, so I’ll concentrate on the “how” more than the “why.” There are a few factors which contribute to cloudy beer. I’ll describe the processes I’ve settled on which eliminate these sources of cloudiness enough to satisfy me.
Cloudy beer is caused both by materials which are suspended in the water in the beer, and by solids left in the beer which are mixed back into the liquid when it is dispensed. To make your beer less cloudy, you first want to remove unwanted materials from suspension, and then remove the precipitated solids from the beer.
The first step towards clearing your beer happens in the boil pot. Near the end of the boil, you can add ingredients which help take unwanted proteins out of suspension, so they can precipitate and be removed from the beer. My preferred “fining agent” is Irish Moss, which is readily available in home brew stores. I’ve bought it in a powdered form, and also in a slightly more granular form which looks and smells like bits of dried seaweed. I add about 1tsp, 15 minutes before the end of the boil for a 5 gallon batch (2.5-3 gallons in the boil pot).
Looking back at my old beer notes, it seems that sometimes I rehydrated the Irish Moss in water before adding it to the boil. I haven’t done that lately; maybe I don’t know what I’m missing? Then again, maybe it doesn’t matter.
Another fining agent I’ve used is Knox Gelatine, but I don’t remember exactly how it is used. Looking at my notes, it seems that the gelatine is added to the secondary fermenter and not during the boil. Lately, I’ve had no problems with just tossing the dry Irish Moss into the boil along with the later addition of hops, so I’m going to stick with that.
After you’ve removed as much material from suspension as you’re going to, you need to remove the precipitated solids from the beer. Professional brewers use filter systems to do this, but home brewers generally don’t have this luxury. Instead, the general process is to allow time for the solids to precipitate, and then leave them behind when you transfer the beer into a new vessel. Yeast also lives in suspension for much of its life, but luckily the techniques used for removing solids from your beer will also encourage yeast to leave.
Many of these points are probably very obvious to most brewers, but someone might say “Oh, I didn’t think of that.” So I’ll restate the obvious.
- If you’re steeping any grains before the boil, use a grain bag to contain them. This lets you remove as much of the excess grain as possible before you start the boil, and reduces the amount of solids in the wort.
- When you dump the wort into your primary fermenter, use a strainer. If you use loose-leaf or plug hops, they will act as a filter to catch even more solids before they enter the fermenter.
- After the beer has stopped obvious activity in the primary fermenter (no more than 2 weeks), transfer it to a secondary fermenter for another few weeks before bottling or kegging it. You don’t want the beer sitting on dead yeast for longer than 2 weeks, but you do want to give it more time for the yeast to flocculate and solids to precipitate.
- Use a siphon instead of pouring, when you transfer your beer. Move the vessels around carefully without shaking them, let things settle for a while before starting the siphon, and don’t move the siphon around once it has started. A racking cane is indispensible. Don’t introduce oxygen into the beer after primary fermentation has started; it’ll confuse your yeast.
- This is the hard part. When you siphon, resist the temptation to move every last bit of liquid into the secondary. Instead, leave the murky bottom layer of goo behind, and dump it: it’s good for your plumbing. You might be throwing a pint of beer away, but you end up with less goo in the rest of it.
- If you’re bottling, siphon the beer into a bottling bucket, and again skip the muck at the bottom of the secondary fermenter. You need to mix the priming sugar thoroughly with the fermented beer, but you don’t want to mix any remaining solids into the beer at the same time.
- Make sure you don’t add too much priming sugar. More sugar grows more yeast in your bottles.
- When pouring beer from bottles, let the bottles sit still, pour gently, and don’t pour the yeast off the bottom of the bottle. This applies to purchased bottle-conditioned beer as well.
- Instead of bottling, keg your beer and use bottled CO2 for carbonation. I was surprised to discover recently that around here, used soda kegs cost less than $4o. Kegs are a lot easier to use than bottles, and require a lot less cleaning and sanitization. They provide an economical way to store and dispense your beer, and you’ll generally end up with less cloudiness than with bottles. Because you store the beer under carbonation and without oxygen, it stays fresh for quite a while (possibly months).
- Don’t move your kegs around or shake them, if possible.
As I said before, most of this is likely to be obvious to a brewer, and uninteresting to everyone else. Sorry about that. If you had a homebrew when I told you to before, you probably wouldn’t mind so much.
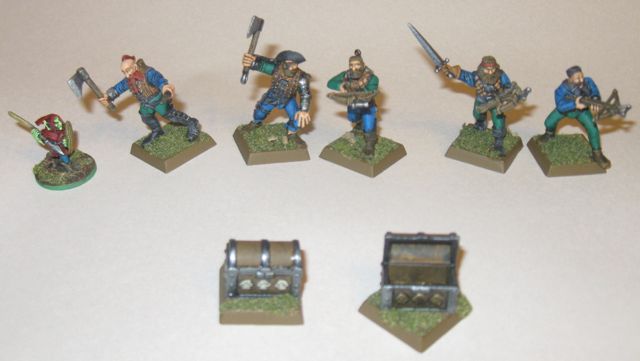
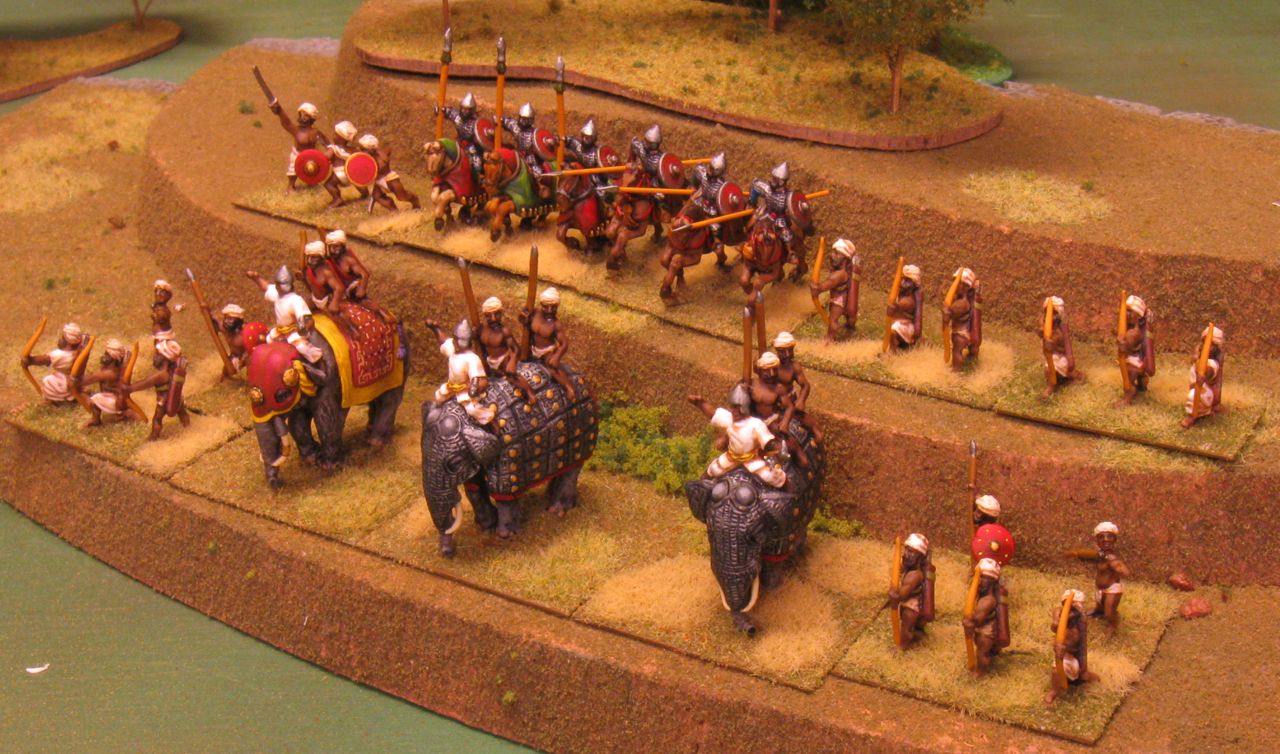 Here is my latest DBA army: Medieval Hindu Indians “other,” army III/10c. The figures are from an Essex DBA v1 army pack, and did not include the Artillery element that is optional in the DBA v2 army list.
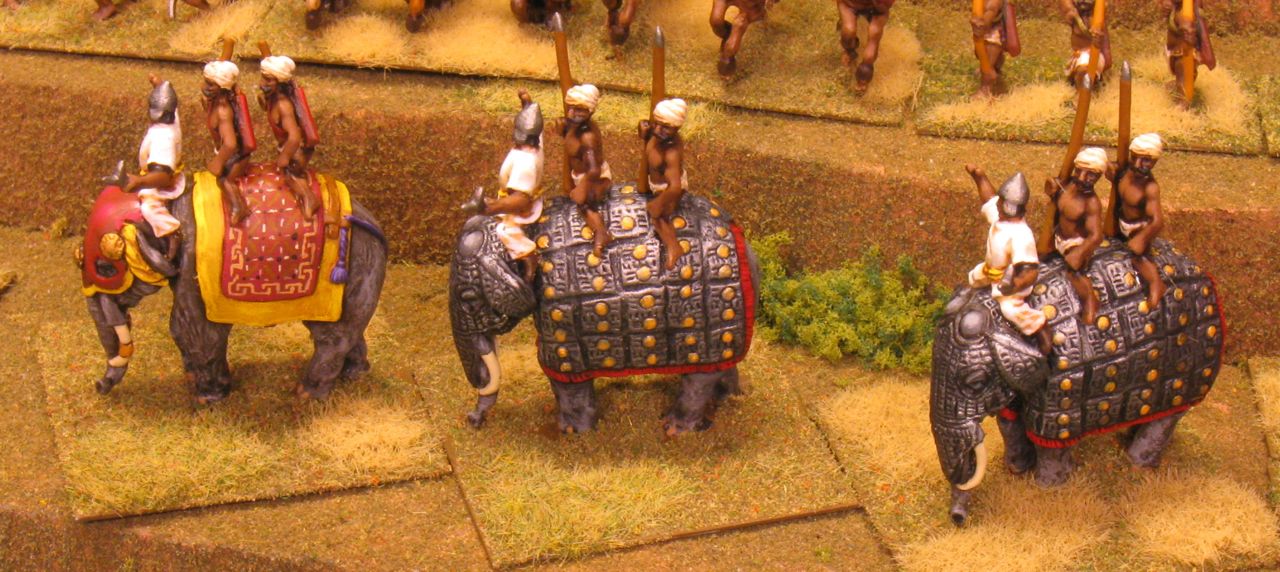
 tried to find information online about how the Medieval Hindu Indians should be painted, but I didn’t find anything other than other peoples’ paint jobs, and indications that they were also guessing. Off white is always a reasonable choice, or red if you need some color, since it seems to be one of the most commonly available dyes. The cavalry are the only elements that have much color (other than the elephant). I chose primarily red, with green barding and some blue shirts.
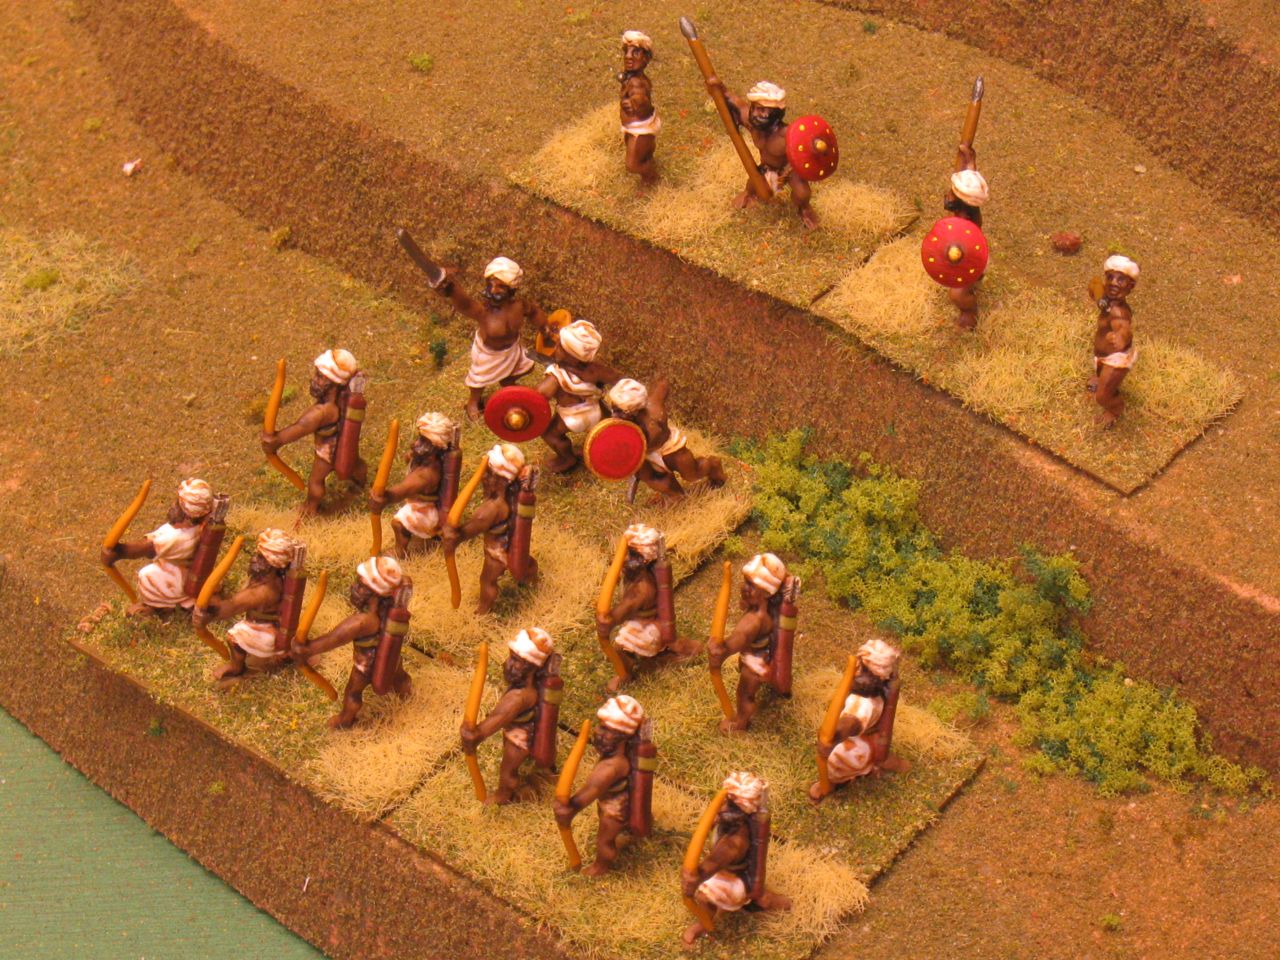 The infantry are easy: off-white butt wraps and head wraps, with red shields. I don’t even know if these figures are appropriate for medieval era Indians; I’d expect them to be wearing a bit more armor or maybe a robe. On the upside, these guys will give me a head start on Classical Indians, and they’re compatible with the Mountain Indian figures I’ve already painted.