The availability of a large selection of models for wargaming and RPG terrain was a huge factor in deciding to purchase a 3d printer. Here are some examples of OpenForge dungeon tiles I’ve printed and painted.
OpenForge dungeon tiles and Carrion Crawler models printed in PLA.
Because OpenForge 2.0 “low wall” pieces weren’t available when I settled on what I was going to print, I decided to drop the wall height by 15mm everywhere. This makes things more visible in tight spaces while keeping it visually interesting, but unfortunately the doorways don’t line up perfectly.
I settled on using magnetized bases: each base has a spherical magnet at the edge of each 1″ square, which allows the pieces to align and stay aligned during use. It’s not a strong connection, but it works fine for single floor dungeons.
The first image is an encounter I set up for a D&D game I’m running with Ezra and some of his friends. This is the tower in Thundertree (from the Mines of Phandelver introductory adventure) some time after another group of adventurers came through and killed the dragon. Carrion crawlers and insects now inhabit the area, preventing local loggers from using and restoring the tower.
A selection of painted and unpainted OpenForge dungeon tiles
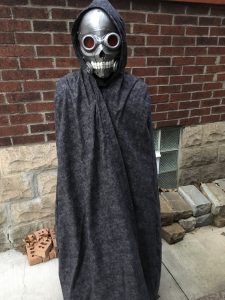
Another year, another Halloween costume! This year Ezra chose the character Death Gun from the Anime series Sword Art Online II.
This one was supposed to be pretty easy: a mask, a cloak; maybe some arm coverings; he wasn’t allowed to bring costume weapons to school anyway.
Nothing is ever as easy as it’s supposed to be, though.
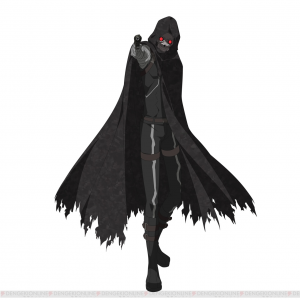
Death Gun reference image downloaded from tvtropes.com
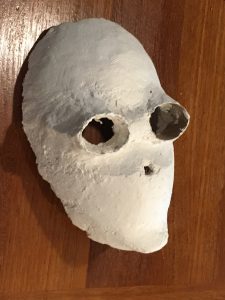
We started with a foam head from the craft store, and a cool material called Sculpt-a-Mold. This is basically a mix of paper pulp and plaster. After mixing water to form a pasty consistency, you can form arbitrary shapes out of it. Because of the plaster, it dries in only half an hour; but the paper fibers make it much less brittle than plain plaster.
After many iterations of shaping and sanding, we identified a few fatal flaws with the approach. The mask was relatively heavy, but it was still too brittle to attach straps securely to it. More importantly, starting with a head-sized base meant that the mask fit too tightly on Ezra’s face, making it impossible to breathe or even open his mouth.
The abandoned Sculpt-a-Mold mask
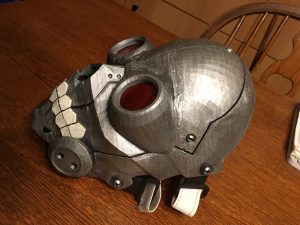
Solving this problem turned out to be a great excuse to get a 3d printer. There was a model available on Thingiverse available, so all we needed to do was print, assemble, and paint it.
Even 3d printers that work well are a bit fiddly and require adjustment, experimentation, and maintenance to produce good results. I didn’t start printing this mask until I was confident I’d get good results, and overall, it succeeded. I didn’t have any completely failed prints, but there was a bit of underextrusion in the chin pieces, which led to a piece breaking off on Halloween night.
3d printed Death Gun mask based on a model from Thingiverse
The lenses were thin plastic from packaging material, painted with Testors transparent red paint. We just glued them in, instead of using the lens holder pieces included in the 3d model. The mask itself was glued together using 5 minute epoxy, primed grey, and painted with craft acrylics. I didn’t make any effort to smooth the surface prior to painting, and it turned out fine. The printing layers aren’t really visible, but the polygonal facets of the 3d model can be seen in the finished product.
3d printed Death Gun mask
The cloak was made from a pattern and fabric found at Jo-Ann Fabrics. We tried several techniques to get arm wraps like Ezra wanted, but they didn’t work well, so we abandoned that. Under the cloak, he wore all black, with the black strap chest harness we made for the Gaara costume.
This wasn’t the most satisfying costume project, but it turned out well,
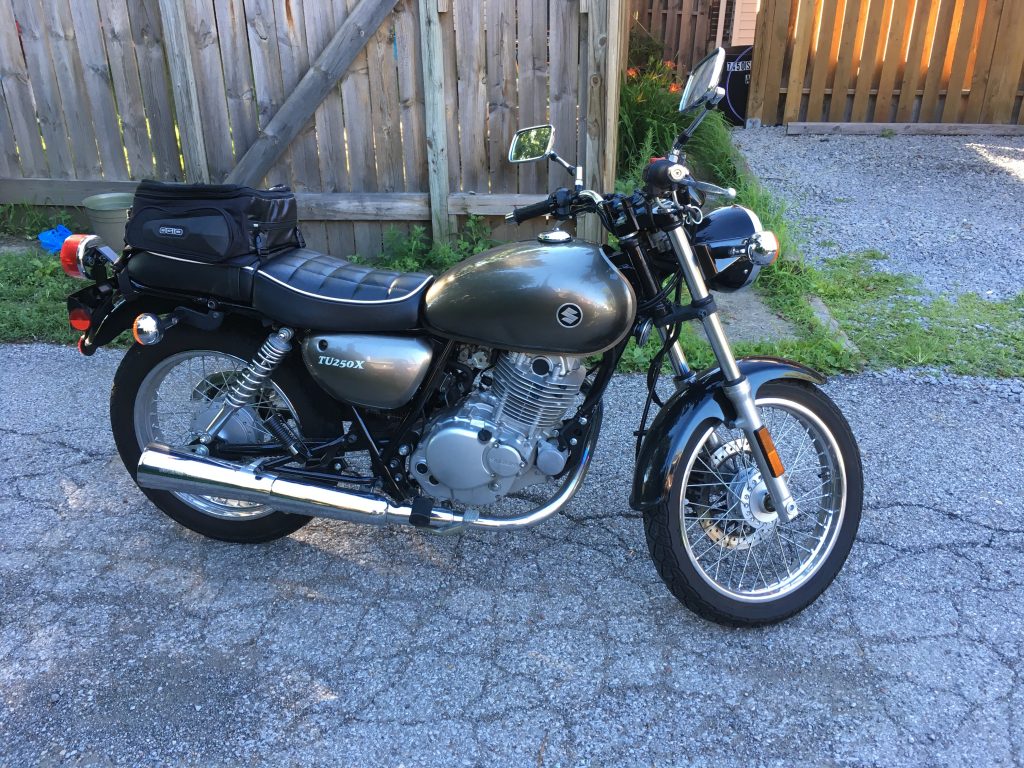
Just a motorcycle, looking like a motorcycle should. It’s perfect for an urban commute, but I’m not planning to ride on highways much.
I was a bit concerned about the kids getting bad ideas when they turn 16, but I learned that anything Dad does is inherently uncool anyway, so no worries.
2011 Suzuki Tu250x; Suzuki Gel seat, custom tank badge.
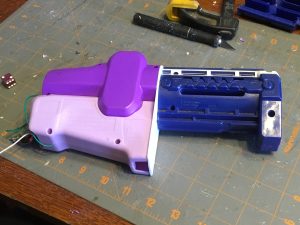
This spring, Ezra had an idea for a NERF blaster mod: graft a battery powered flywheel onto a barrel extension, to accelerate darts shot from a spring-powered blaster. This is the result.
In-progress shot of the accelerator mod
We cut off the front of a Rebelle flywheel blaster and part of a Modulus barrel extension, and joined them by epoxying them to a plastic bulkhead. Each half was attached separately, so the whole thing could be disassembled and reassembled easily using the original screws. The most challenging part was keeping parts aligned when joining to the bulkhead, to maintain a straight path for the dart. In retrospect, it probably would’ve been easier if we had temporarily installed the internal barrel parts and used a dowel to keep everything in alignment.
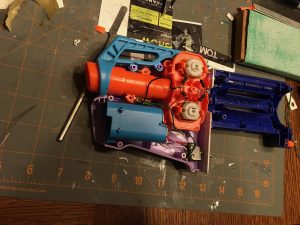
Internals, showing the switch placement, battery pack, flywheel, and front barrel segment.Mod assembled and fit to a blaster, prior to painting
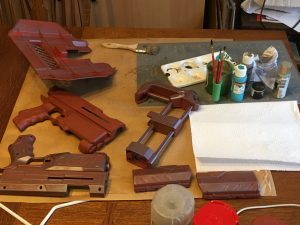
After constructing the mod, Ezra also wanted to repaint it to match, as well as repainting a blaster to match. He wanted a bit of a “postapocalyptic junk” aesthetic, so we chose a rusty brown and applied metallic highlights. The bright blue and orange parts were maintained for safety reasons.
Repainted barrel accelerator mod, disassembled; flywheel and battery pack visible at topRepainted blaster, barrel, and shield parts
Now I just need a shot of the finished product!
After the glue joint broke the first time, we added screwed-on metal braces to hold the halves together. Next he wants a better stock and a spring power mod in the same blaster.