DBA Army IV/35: Mongol Conquest

I haven’t finished painting a DBA army since February?  Weird.  I blame it on the goblins.

I chose to paint a Mongol Conquest army to participate in the Baltic Crusades themed campaign event at Historicon 2010. This is a fairly one-dimensional army in this configuration: 3x3Cv, 9x2LH.  The figures are Museum Miniatures from their Mongol line.  I also purchased a traction trebuchet model from Museum for the artillery option, but it was way too huge to fit on a DBA base.  A future update shows the alternate model I scratch built.

I used medium cavalry with swords and bows for the Cavalry elements.  They’re helmeted, but otherwise look very much like the light horse archers.

Painting this army was an exercise in finding all my different shades of brown paint.  I used a grey-blue and dark red for highlights, based on images in the Osprey Mongol Warrior book.

There are two cavalry poses (MG09BP, MG09CP) except for the general (MG01P) and standard bearer (MG02P), and three poses for the light horse archers (MG06P).

This will be another challenging army to play (along with the Skythians).  Maybe I just like losing.  I’m not very good at playing light horse armies yet, but I want to be.

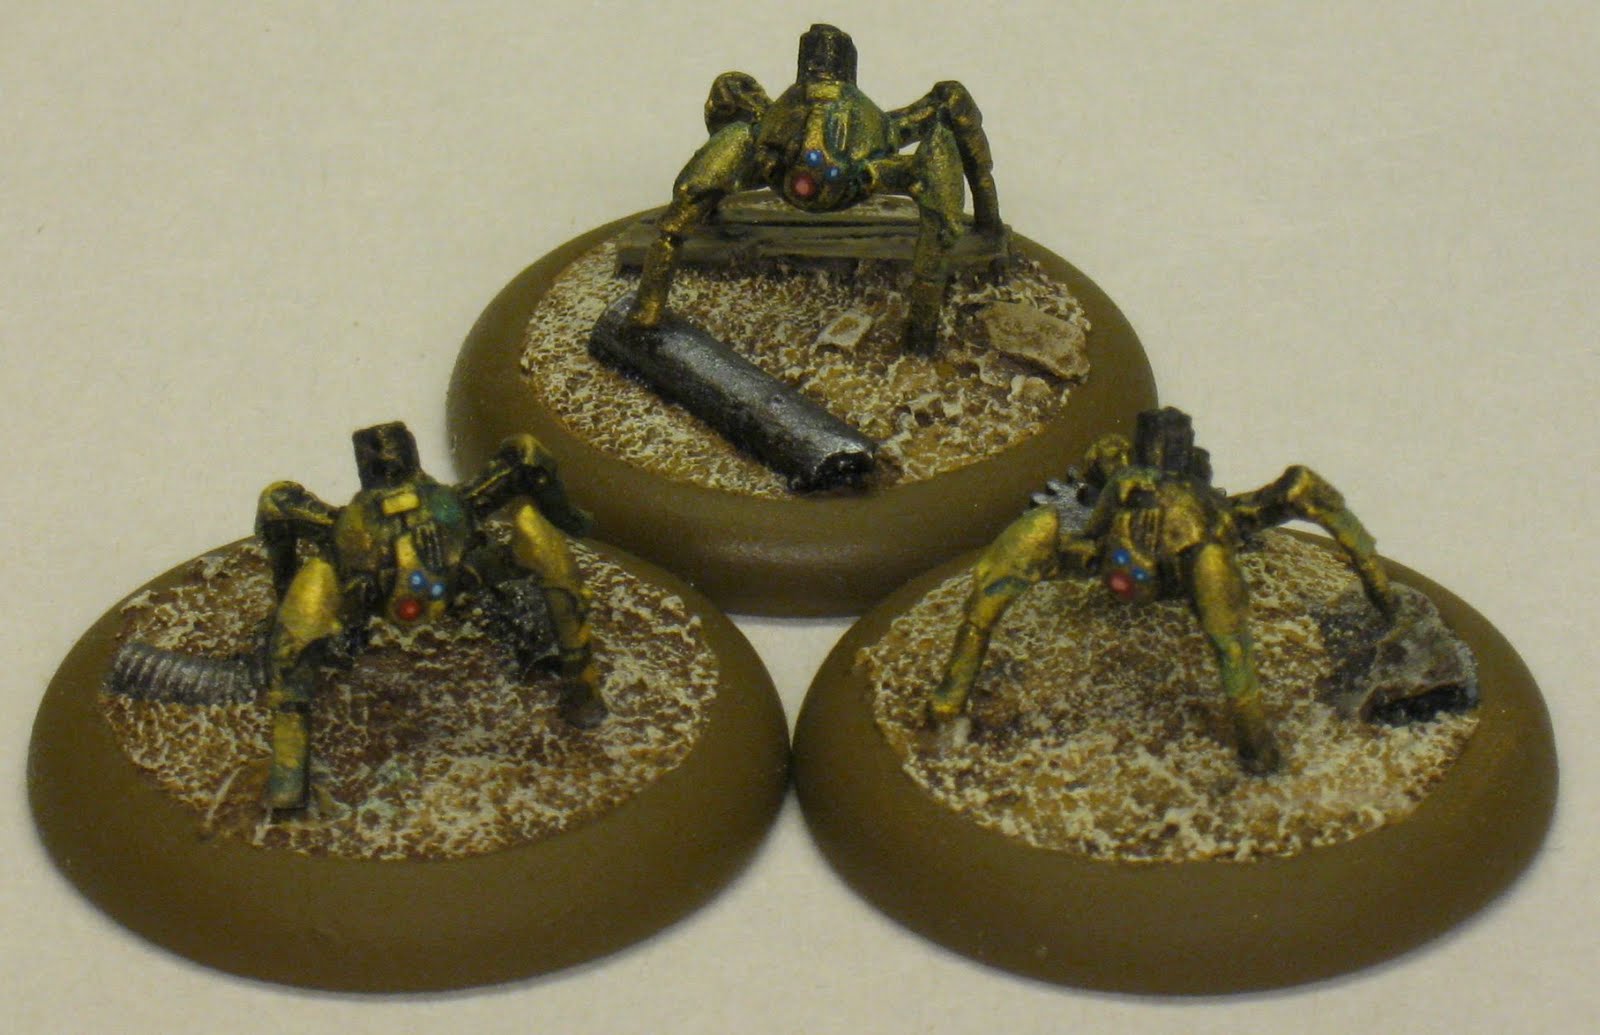
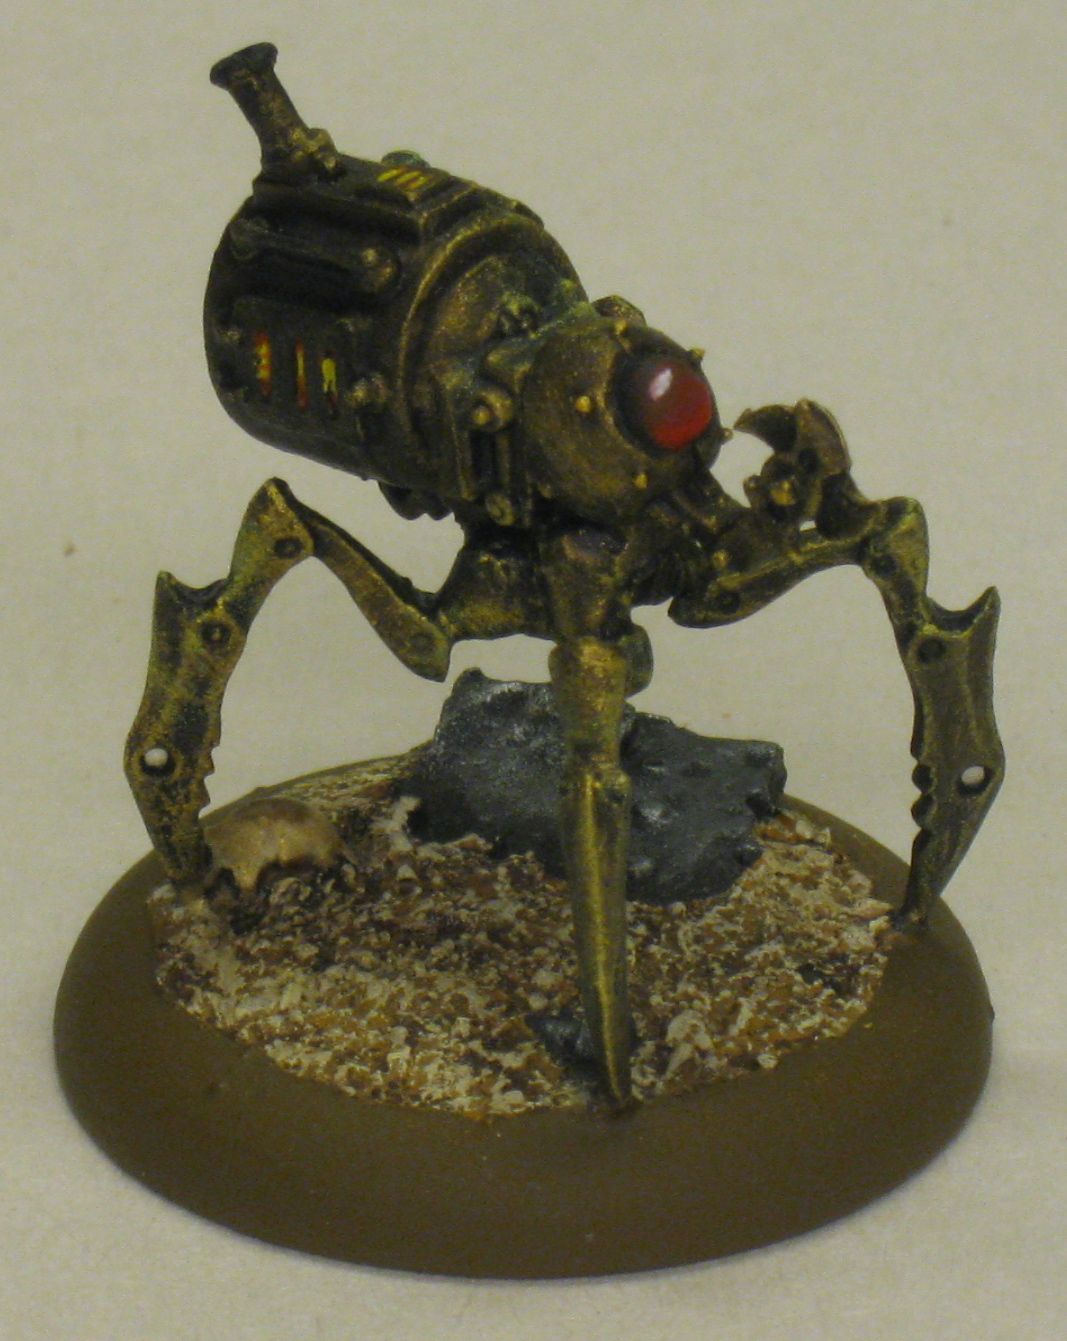
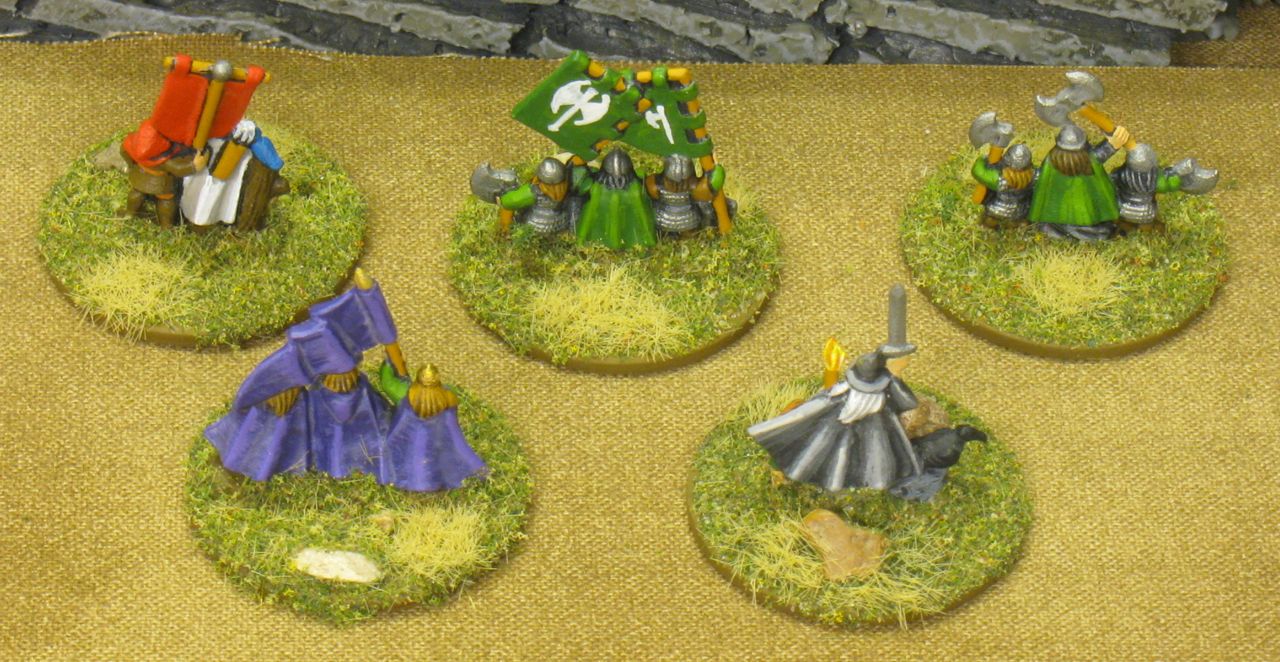
The surface of these figures is glossier than I prefer. This time I used a few base coats of semi-gloss varnish before topcoating with Dullcote.  I probably should’ve waited longer before the dullcote layer.

My next DBA army is already in the works, so it won’t be 2 months before that one’s finished. I also need to paint one more army before Historicon for another theme.

Malifaux: Ramos’ Crew

Wyrd Miniatures makes some very nice miniatures.  They also make some really creepy ones, if that fits your tastes.

Personally, I really enjoy the steam punk elements available in their line.  After perusing their miniatures for quite some time, I settled on purchasing Ramos the Steampunk Sorceror and his crew.  He builds robot spiders out of scrap, and sends them off to do his dirty work.

I started by painting the arachnids.  Assembling these figures was a big pain in the butt, and there was almost no gluing surface at all.  They were definitely designed as display figures and not gaming figures.

The spiders are painted black with metallic dry brushing.  Except for a few lights and lenses they’re very straightforward.  In real life they have a nice monochrom metallic look that doesn’t come across well in images, and they have just enough color to be interesting.

Three arachnids on a single base are a Swarm. 

They can break up into individually based spiders for more flexibility. They can explode!  And Ramos can summon new ones when the old ones die.  We’ll see if any of this is worth doing, once we actually play the game.

The larger Brass Arachnid is Ramos’ totem: basically a magical familiar, but his is appropriately a spider.  This guy is quite large for his 30mm base.  I like the model a lot, though the paint job looks better in person as usual.

All the bases are from Dragon Forge’s Wastelands II series.  I intend to find some long grass to tune the bases, but can’t seem to get it locally.

I chose Johann, a mercenary, for my other main dude.  Although he’s usually part of a different crew, his special ability allows me to take him with Ramos as if he were also an Arcanist.

I painted Ramos (above) and Johann using a blending technique for basically everything except the metallic portions and the base.  I’m very happy with how they turned out, especially considering how long it’s been since I’ve tried to do a good job on a 28mm+ figure, and also considering the amount of time I spent on them.

These figures are just enough to play a 25 point game, which is kind of small.  I’ll provide some feedback on the rules once we try it out, but I’m very hopeful.

New Hops Trellis

Spring has sprung a bit sooner than I anticipated.  I saw the hops buds peeking their noses out; it seemed like only a week or so ago.  Now all of a sudden they’re 3-4′ long.

I decided I needed a higher hops trellis this year, since last year’s yield wasn’t that good.  I suppose another way to look at it is: I haven’t actually used last year’s hops yet, so what does the yield matter anyway?  But where’s the fun in that? This is all about the process and not the result.

In past years, I saw others’ complicated trellis systems, but didn’t think much about building anything similar.  But I brainstormed a bit since last weekend, and came up with a plan for a taller trellis that lets me lower the top beam for picking. 

My previous trellis was made from 1″ galvanized pipe, and it seemed strong enough.  It was about 9′ high in the center, with twine running horizontally from there.  However, the main hops bines don’t like to grow horizontally, so that was mostly a waste.

The new trellis uses a 12′ 2″x4″ with a metal ring on top, screwed to my fence post.  A rope is attached to the top beam, through the ring, and down to a rope cleat mounted on the post.  I raised it above the ground somewhat, so the total height is closer to 13′.  The twines are tied tightly to the top beam, but they’re lashed at the bottom so I can tighten or loosen them there if necessary.  I also left a small amount of slack in the main rope in case it needs tightening. The twine goes slacker and tighter depending on the weather, and needs adjustment throughout the season.

Until the hop bine grows to the top, the weak link is the twine.  The bines are much thicker than the twine, so once it reaches the top the main concern will probably be with the pulley ripping out at the top.

Unfortunately, many of the strongest looking bines had their tops broken off before I could train them.  I cut a lot of spare bines off, and trained about 7 bines up the twine.

We’ll see how well it works as the season progresses, but I’m happy with how inexpensive and easy this was to set up.

Ne quid nimis

Terence wrote “Moderation in all things” (in Latin, but close enough for my purposes).

When I append “(including moderation),” as I am wont to do, I usually mean to make the aphorism self-referential in order to extol the virtues of occasional excess in one’s life.

But this time, the context is with respect to this blog: I received my first comment spam (now deleted). 

To avoid this in the future, I’ve unfortunately had to change my blog settings from “Moderation in all things (including comment moderation)” to “Comment moderation in all things.”

If you’re a non-spamming human, don’t worry: your comments will be accepted.  This first line of defense is against spammers, not trolls, so flame on!

Of course, the main point of bothering to tell anyone about this is my inability to resist a few good (or maybe not?) plays on words.

Review: Rome at War

Rome at War is a series of tactical wargames produced by Avalanche Press.  They’re set in the Ancient period, and provide scenarios for many battles betwen Rome and her enemies. I picked up Rome at War: Queen of the Celts on discount online a few months back, and finally had a chance to try it with Frank on Saturday.

Queen of the Celts provides materials and scenarios for Rome’s battles against the Britons.  The game is available with two different versions of box art. The version sold in stores uses a family friendly image of a sword and shield.  If you order online you could also choose the “pinup edition,” depicting a topless Boudica rolling into battle on her chariot.  I expect the reason mine was on discount is that they didn’t sell too many copies of this box.

The Avalanche Press website has a useful document on learning to play Rome at War in 5 minutes.  It takes more than 5 minutes to read, but both this guide and the rulebook are fairly clear, and the rules aren’t complicated.  The game should play in the advertised 60-90 minutes once you’re familiar with the rules.

Most of the mechanics are not out of the ordinary.  It uses an area map with cardboard chits representing troops and leaders.  In combat, each side rolls a number of dice equal to their (modified) strength, and 6’s are counted as hits (step losses) on the enemy.

I enjoyed the command system. It provides some random ability to control your troops, but it’s not as limiting as the systems used in Command and Colors, DBA, or Warmaster. The C-in-C has a control radius to control other leaders, and those leaders have a control radius to control troops in their formation.  Out of command leaders have to roll when activated to see if they control their troops, and out of control troops have limited movement capabilities.

Formation activation is also variable: each player can activate a random number of formations per turn until all formations have been activated, or until each side fails to activate any formations.  Usually all your formations will have an action each round, but you have to decide which ones are most important, and which ones are most important to happen first.

However, some aspects of the game are a bit weird, or don’t work as well as I would have liked.

The map boards in this game have mostly square areas on them.  I say “mostly” square because they’re divided by randomly wavy lines that divide the board into roughly, but not exactly, square areas.  And, the game uses “long units” to represent larger units such as Roman legions and auxilia, and large groups of “barbarians” (the winners write history again, of course).  These are rectangular chits that aren’t allowed to stack with anyone except a leader.

The odd rules come out of the combination of the rectangular chits and oddly shaped board areas.  Long units have a front facing, which determines which areas are to their front, flank, and rear, and you have to place the chit on the board so it’s facing in the right direction.  However, the chit must also actually physically fit in the area where you’re placing it, without overlapping the sides.

The net effect is that some of the areas in this seemingly empty field can’t actually fit a long unit in one direction or the other (or sometimes both).  I’ve seen some boards from other Rome at War games that have more terrain, and I can see how the rules can be used to good effect: linear hills, cliffs, and other obstacles can striate the areas and provide clearly defensible positions that make sense as long unit placements.  But on this game’s wide open plains, the rules just feel like arbitrary punishment for standing in the wrong spot.

Another minor gripe I had was about combat.  On your turn, each of your units can assault one adjacent enemy (but it’s not required).  When one unit is fighting against three, the fight is one-on-one in one player’s turn, but three-on-one in the other player’s turn.  The effect of this rule is to encourage the player to try to use historically impossible maneuvering techniques to slide around the end of an enemy’s line in order to temporarily outnumber them for one turn.

The movement rules prevent blatant abuse such as a legion flanking another legion in front contact, while allowing more historical tactics such as flanking by light infantry or allowing cavalry and chariots all the way around to the rear of an end unit.  But in some cases it felt like the best tactic would have been to shuffle the line sideways each turn to gain an overlap on one end while not suffering on the other (until next turn, at least).

The other aspect that didn’t feel right were the victory points.  These vary by scenario, so it’s possible other scenarios would work better, but we had to track victory points for every step loss taken by every unit on the board, as well as remembering to reduce VP if a unit recovered steps.  It felt like a lot of bookkeeping, maybe there’s an easier way?

I’m generally not as concerned about the quality of game components in wargames like these, as long as the game is worth playing and the components don’t get in the way.  Queen of the Celts comes with two counter sheets, but most of the counters are different strengths of only a few units.  Combined with limited ability to stack counters, this means the board is definitely not counter-heavy.  The counter art is very high quality, with printed images of actual units of guys on them.  I’m quite happy with the counters.

There are three maps, printed in full color on glossy but thin paper.  They’re big enough, and I don’t mind the thin paper so much, but the quality of the graphics on these is pretty horrible.  Terrain effects are pretty close to a “flood fill” effect in the areas that have terrain, and they don’t look realistic at all.  The marsh looks like someone pulled out all their eyelashes and stuck them on a scanner, and the hills look worse than the average DBA hill, which is saying something.  They’re obviously all done on the computer, by someone without any map making or drawing skills to speak of.  On the scale between “usable” versus “pretty,” these maps are so far to the “usable” side that the lack of prettiness makes you not want to use them.
 
Overall, I’d say that Rome at War is definitely worth playing again a few times, and compared to watching a movie I’ve already gotten my dollars per hour out of it.  However, I don’t expect I’ll be buying any more games in the series, and I don’t think I’ll be playing this in a year’s time.  I definitely prefer Command and Colors: Ancients, even though I can’t win that game to save my life.  Rome at War: Queen of the Celts gets a 6 out of 10 on my boardgamegeek.com rating.

DBA at Legions, Friday April 2nd

I think the Stooges will have a bit of a shock on Monday; the DBA population at Legions seems to have almost doubled in a month.  I suppose in the long term view… most of us noobs will probably stop playing in less than a year anyway.

Tonight I made it out to Legions again, and got 3 games in against JM and John.  I played my Hindu Indian (III/10c) army all night, because I hadn’t had a chance to play it since I painted it: 3xEl (gen), 2x3Cv, 4x3Bw, 2x2Ps, 1x3Bd.   My overall impression is that I really like this army; but I was playing very deliberately, so games took longer than I’m used to.  I’m not sure if it’s the fact that it’s a new army to me, but I’m not sure it’d be a good choice for finishing tournament games on time.

My first game was against JM playing his Athenians (II/5b).  I was defending.  I placed a good sized central rough ground and two mostly insignificant corners of rough and woods.  My initial deployment was based on an idea I had (always a dangerous thing):  If I alternate bow/elephant units in a line to end up with a line of 7 elephants/bows, my two swaps can place a block of 3 elephants anywhere along that line.

JM deployed most of his spear to one side of the bad going, with his bad going troops towards the center.  I swapped my elephants to his spear side, and ended up with most of my slow bows on the denied flank opposite.

Most of the game was spent maneuvering: I advanced my bows and psiloi towards the center to take the bad going, and he maneuvered elements in front of my elephants to try to improve his chances on that side.

He tried very hard to face my elephants with his non-spear elements, but that requires a lot of help to succeed.  Yes, psiloi and light horse quick-kill elephant… but at 2 to 4 the psiloi have only a 1 in 6 chance of actually doing it… while I have a 9 in 36 chance of doubling the psiloi and killing it.  With light horse it’s even worse.  You need to have overlaps for that to be a winning proposition.

It was a very tight game, and a lot more interesting than we expected it to be.  I think I won 4 elements to 3. 

Next, my Hindu Indians faced John’s Early Egyptians (II/2a).  That’s a nice little army: blades, bows, psiloi, and a horde for good measure… apparently Egyptian hordes like hanging out in camp. 

I was the attacker, so he had to place a waterway.  He placed two smallish rough grounds in the center of the two quarters opposite the waterway, and I ended up playing with the waterway to my right.  He didn’t do a littoral landing.

He deployed with most of his bow next to the waterway, blades in the middle, and a group of bows and psiloi in the bad going.  I faced my elephants against his blades, my bow against his bow, and my cav/psiloi against his bad going troops. 

This was also a long, tight game and I barely pulled it off.  His bows were winning on my right flank, while I had some initial success on my left flank.  When the center clashed I was eventually able to kill a fourth element and win 4-3, but it had all of the back-and-forth of a hoplite battle, with his psiloi-backed blade (4) against my elephants (4).

I liked the element composition of his Early Egyptian army enough that I bought the other Essex army pack Legions had on hand.  It should be very quick to paint up after my Mongols are finished.

After a break while John and JM played, I faced JM who was playing Alexandrian Macedonians.   He attacked, and I set up rough/rough/woods in a triangular pattern.  I depoyed on the point of the triangle and he deployed the edge opposite.  My elephants ended up on my left flank opposite his pike block and mounted, and my bows and cavalry were opposite his artillery and bad going troops on my right flank.

We were both dancing around a lot: it took a long time for my Elephants to wheel around and turn the flank of his Pike… talk about a slow motion train wreck.  On the other side, his artillery was a real nuisance, mostly due to my hesitation in committing to attack it: my bows danced around at the edge of his range for a long time.  When I tried to maneuver my Cavalry in to charge, he brought up his bad going troops to delay me.  While I killed his Auxilia he brought some pike in from behind the Artillery to delay the Cavalry further… that should give an indication of how long this was taking.

Eventually my bows decided to suck it up, stand in a line, and charge, but while I was trying to find alternate solutions I got a bit lucky with shooting rolls: I only lost one bow against his artillery. If you start out doubling someone you only have a 1 in 4 chance of still doubling them after the die roll, so it wasn’t insanely good luck, just enough luck to stay alive.  That was my only element lost this game, I think.  Eventually I maneuvered my blade in for the kill, and the tide turned.  It was getting late, so JM charged with his Pike and I ended up getting 2 quick kills, and winning 5-1.

If he hadn’t charged I probably would have, and it wouldn’t have gone much differently.  I think I spent too much time obsessing over his artillery instead of just charging it.  It would’ve helped if I remembered it was only 2 against foot in close combat…

Overall I really enjoyed playing the Indians.  I like elephants, they’re scary.  I like bows as well.  I don’t like artillery, it’s scary… though maybe I’d like it if I was standing on the other end.

DBA Summary: Miniature Warfare

This is just a quick summary of the single DBA games I played at Miniature Warfare last Saturday, before I forget.

First, my Spartans (II/5a) faced JM’s Athenians (II/5b).  The terrain didn’t play any role in the battle.  I took 9x4Sp, 1x4Ax, 1x2Ps, 1x3Cv option, and he took 8x4Sp, 1x4Ax, 1x2Ps, 1x3Cv, 1x2LH.  JM deployed double ranked spear, and I deployed a longer line of single rank spear since he had a greater flanking force.  Hoplite battles are pretty fun in DBA, and this one didn’t disappoint.  He advanced his 2LH on my right flank and I was able to pick it off with a spear and psiloi.  After that, I won mostly with good die rolls, and because my longer line was able to turn his left flank. I lost a few elements, I don’t remember how many, and won by killing 4 elements.

Next, my Mountain Indians (II/2) faced John’s Nikephorian Byzantines (II/64).  I placed terrain, too much bad going in fact, and this one took a while.  The terrain an deployment attempted to funnel his troops towards my Elephant.  In the end, he carefully and deliberately pulled me out of the bad going and killed me.  Although I intended to try to learn how to play the Mountain Indians, I don’t think I learned enough about how to play them correctly.  I think I needed less terrain, and needed to use my Psiloi-backed Auxilia out in the open against his mounted a bit more.

Next I had a break while JM and John played Nikephorian Byzantines versus Alexandrian Macedonians; there were 3 DBA players there almost all day, so usually someone was sitting out.

Then Jim cleaned up his Napolean’s Battles and we played DBA: his Ariarathid Kappadokian (II/12) against my Warring States Ch’in (II/4a).  I wanted to learn how to play with Warbands.  Instead, I quickly learned how not to play with warbands: I lost double ranked 4Wb stands against his Aux on a 6-1 split, and the rest of my force quickly dissolved after that.  We tried to play a follow up game but time ran out an I eeded to leave in the middle.