Marla’s mother died recently, and Marla and her siblings asked me to construct a burial urn in the shape of a book. Here’s how I did it.
They requested I use wood salvaged from Leatherwood, Marla’s great-great-great-grandfather’s house. The pine boards I used were originally stair treads, so they were thick, painted, and encrusted with 150 years of dust and grime. After finalizing the design, the first step was to find the good wood inside the ugly.
After removing the rusty cut nails and cutting the stair treads roughly to length, I used a scrub plane to remove the outer layer of grunge with a blade that’s easy to resharpen, followed by a planer to flatten the boards and remove the bulk of the unneeded thickness. This resulted in the boards I needed and a birdseed bag full of shavings that still smelled like pine.

My design required the front and back cover boards to overhang the sides, the way the covers of a hardcover book extend past the pages. The cover boards were 1/2″ thick to provide enough thickness to carve. To make the edges a more appropriate thickness I planed a rabbet along the edges of the covers, and a groove to hold the sliding lid. The page edge boards fit between the cover boards, and the spine board caps the covers on the other side.


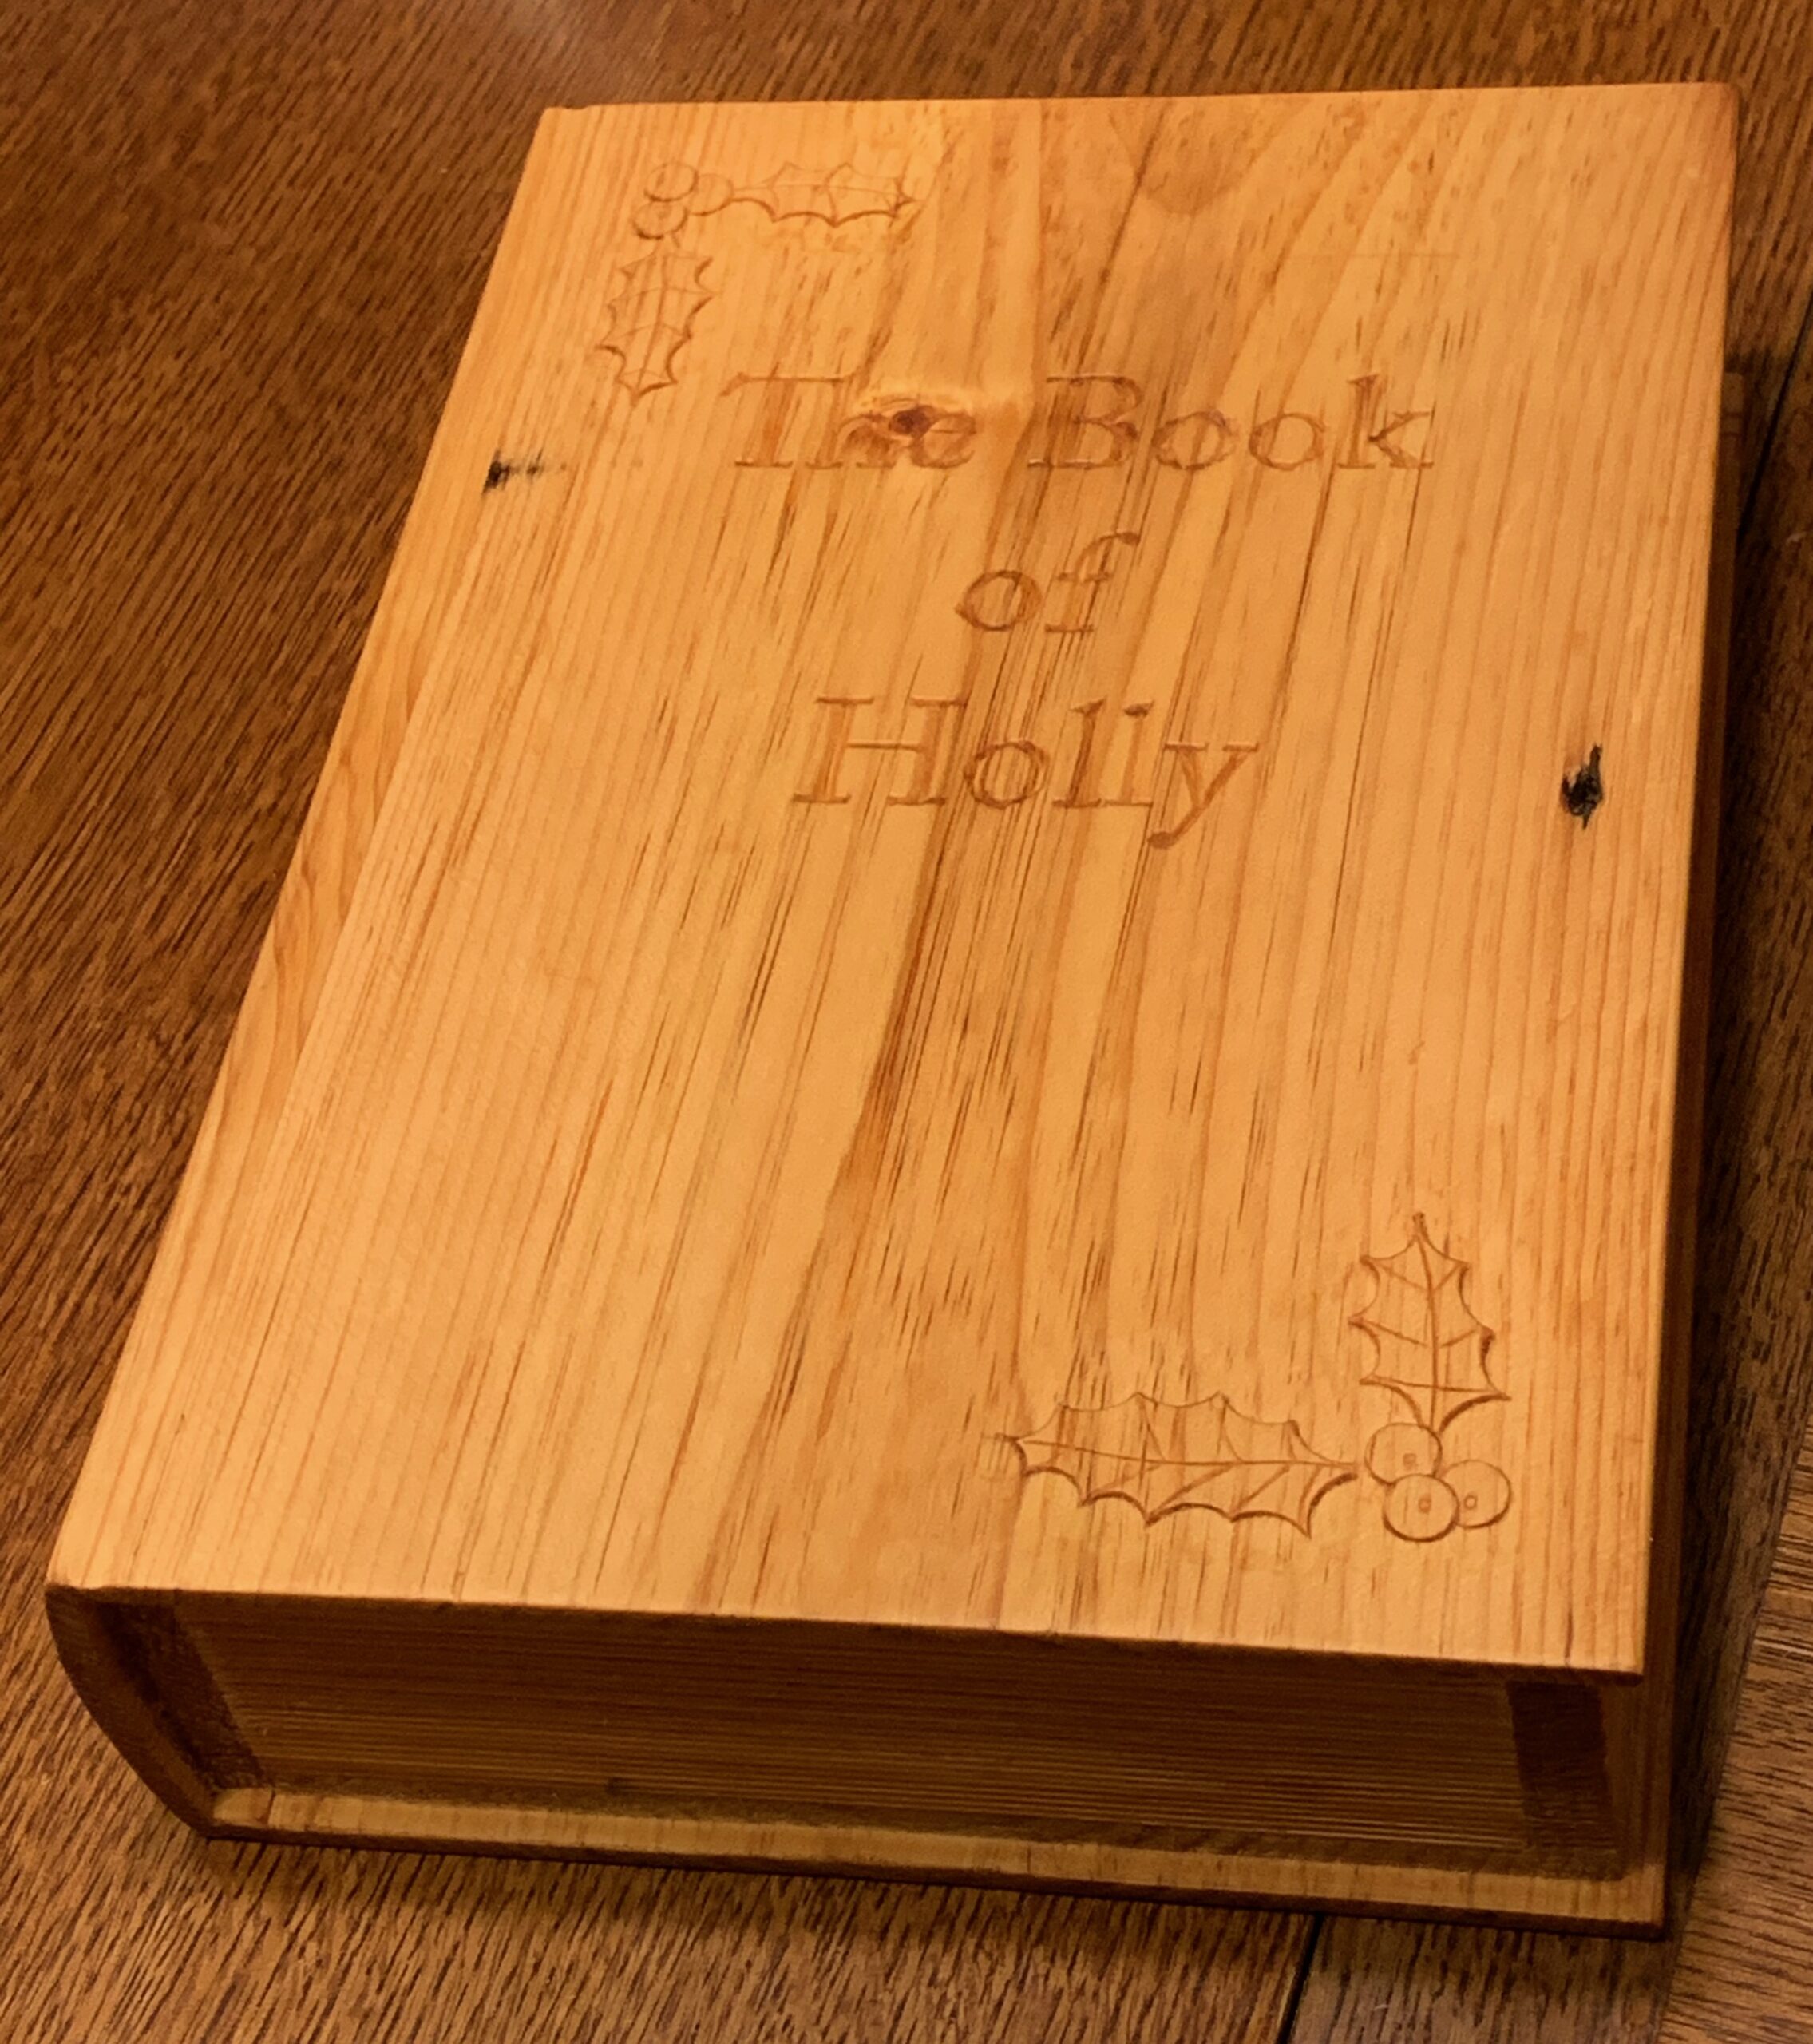
Since this is a book, it needed a title. The family settled on “The Book of Holly”, with carvings of holly leaves and berries in the corners. My supply of Leatherwood wood is limited, so I practiced on scraps. I tried paint to see how that looked, but the final decision was raw wood with an oil finish.


To avoid having to rebuild the entire box if I made a mistake, I did the carving before assembly. This was the most lettering I had ever done, so I was glad to have the practice. The curves aren’t easy with the grain pulling your blade in various directions. Since this is a book and an urn, I opted for a formal typesetting design rather than trying to draw the letters in a more creative way. I designed it on the computer, printed it out, and temporarily glued it in place while carving. This worked quite well, and my unsteady hand removed any sign that this had originally been digital art.
I carved the letters with a knife, the technique used by David Fisher. I was imagining the hand drawn lettering used on Eric Sloane book covers, although I didn’t actually look at reference images before choosing Adobe Caslon as the font to use here.
The leaf carving uses techniques from Peter Follansbee’s toolset, although the pattern was original. I defined the outlines with vertical cuts with gouges, and then I carved away the surrounding surface so the leaves would be raised. Since this is pine, it required very sharp tools to cut instead of mashing the wood, and I didn’t need to use a mallet for any of it. I stropped my knife every few letters to keep everything cutting well.

Next was carving the spine board, which I didn’t take any pictures of. I marked the shape of the cover on the ends of the spine, and planed away material to curve the back of the spine. On the edges of the spine board I carved a groove where the cover of a hardcover book bends open. I then used a chisel to carve the ends of the spine board to line up with the cover properly. (You can see this in the picture of the lid, below.)
To assemble the urn, I glued each page board onto the back cover separately, and when it was dry, glued on the front cover using a temporary spacer inside the unsupported corner to keep everything aligned. Once that was dry I added the spine onto the end of the box. Doing it in steps like this was slower, but ensured I got everything lined up without having to juggle 6 pieces at once with clamps going every which way.

The last piece to construct was the lid. I left this until after the book was assembled so I could get a tight fit (but not too tight). For this, I just planed rabbets on the two corners of the lid board, carefully approaching the proper thickness so it wouldn’t be too loose. Marla requested I carve paper page edges on the page boards, so I used a very coarse rasp to carefully scribe a series of (almost) parallel lines. I also added a notch to make it easier to open (and to tell which side is the lid). The lip of wood retaining the lid is very thin, and all weak short grain, so I wicked thin CA glue into the end grain from the inside to provide substantially more strength.

The top of the book with sliding lid
At this point construction was complete. I rounded off the corners slightly with a block plane, and gave everything a very light sanding with 220 grit paper: enough to remove rough spots and signs of the electric planer without removing hand tool marks. After that, I applied raw linseed oil, and that’s that. This doesn’t need to be a durable finish, but the oil emphasizes color variation in the wood and increases the contrast of the carvings where end grain is exposed.

I’m very happy with how this turned out. It’s not often that I make a plan, and then implementation goes entirely according to plan without needing to make adjustments on the fly, but this one worked.