JM and I rode out to Lancaster with Larry early on Thursday, to get to Fall-In with time for dinner before Larry’s Glue Factory event. I wanted to write this up before I finished reading JM’s account of what happened during BBDBA on Friday. I expect he may find my post-game analysis a bit tedious, but I find it helpful to go back over images to learn from our experiences.
 |
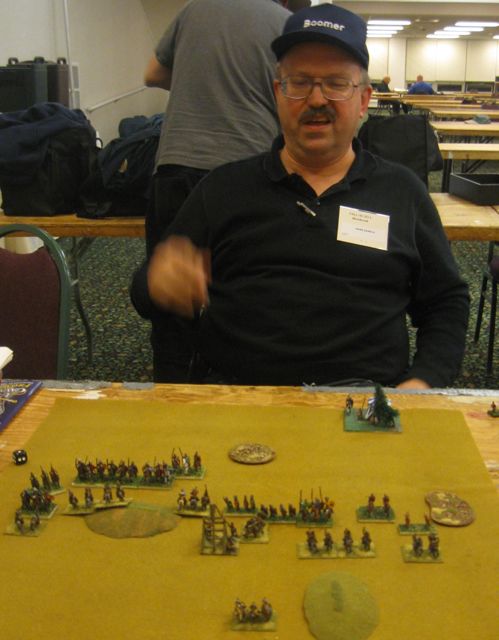
| Mike Guth’s Tuaregs approach the dunes. |
Thursday: The Glue Factory
The Glue Factory was a DBA theme requiring all participating armies to contain at least 8 mounted elements out of 12 (not including elephants). I brought Mongol Conquest, because it was one of my two eligible armies (along with Skythians). Mongols have many light horse, with low combat factors, no room to maneuver on a 24″ board, and high aggression “guaranteeing” I’d never place terrain. I didn’t think this was a strong army compared to what I expected from the competition.
I expected to see mostly Knight armies, but I shouldn’t have been surprised by Mike Guth’s Tuaregs in the first round. He won terrain and placed massive dunes in the center. These are bad going to me but not to his camels. The only thing in my favor was that they didn’t block shooting, though they did constrict his command radius.
 |
| An anachronistic civil war vs. Dave’s Golden Horde |
I didn’t expect to win with this setup, and I felt successful for killing 2 elements before I lost 2-4. This was too much terrain even for Mike, who had command radius issues once he sent his general into the center.
In the second round I had a much better chance of success if you just compared army composition. I faced Dave, whose last name I didn’t learn, with his Golden Horde. Surprisingly, I won the terrain roll, and had to figure out what a Steppe is supposed to look like. Unfortunately I lost my fourth element to his bow shots before I killed four of his, and he won 4-3.
I found it interesting that when you have two light horse armies, you no longer need to play as a flanking force to gain an advantage. My success was through flanking him around my right side… but so was my demise.
 |
| Mike Bumala’s Normans |
In the final round, I faced Mark Bumala’s Normans. Once again, I placed terrain. This game was a horrible massacre: I lost 1-5g. I was really perturbed by how uncooperative my dice were being; it’s the only time I remember recently when I got very angry at bad die rolls.
Friday: Big Battle Doubles
Friday morning, JM and I got up nice and early, with plenty of time before the BBDBA doubles tournament at 9am. Except, it didn’t start until 10am. When did that happen?
We had time to get in a bit of a Viking civil war between our recently finished Baueda Viking armies. This Fall-In was notable for being the first HMGS-E convention I’ve been to when I’ve played a substantial number of pickup games between events.
This time, the Grey Wardens (JM and I) took Leidang (III/40d) with a Medieval German ally (IV/13a). We chose 6 blades and the psiloi from each Leidang, and 2 auxilia in the German ally. This left the Leidang with 2x3Kn, 12x4Bd, 4x3Ax, 4x2Ps, 2x4Sp, and the Germans with 5x3Kn, 2x4Sp, 2x3Ax, 1x4Cb, 2x2Ps.
 |
| Two Davids: Leidang on Leidang action |
In the first round we faced Two Davids (Kuijt and Schlanger) with a nearly mirror image of our army. They also had Leidang with a German ally, but they included 5 blades and 1 bow from each Leidang army, and used all of the German spears. We won terrain and placed the terrain we planned for, with the waterway on a short edge so we wouldn’t see any landings.
 |
| The crux: our right flank bad going |
We initially placed both Leidang commands, and then we were faced with the typical defender’s dilemma in BBDBA. After placing 2 commands centrally so they’re hard to ignore, the enemy places 3 commands so they overlap your two and extend out each flank. The defender now must choose which flank to attack and which to hold back.
Their Germans were on our left flank, but their knights were deployed inside a marsh, and didn’t look like they had room to maneuver. On our right flank, we were a bit cramped by terrain, but our Germans are better in bad going than theirs. We deployed the Germans on our right. After a few turns we learned a few reasons not to have done what we did, but I think if we had deployed on the other side we simply would’ve learned a different lesson.
 |
| Our allies see their brothers working for the enemy, and flee. |
We were slightly outmatched in the bad going on our right flank, but it could have gone either way due to the low combat factors. When we first entered combat, it did go either way, and we ended up getting crushed in the bad going, and soon the German command broke before it could make contact.
On the left flank, JM did an admirable job of holding off the Germans for as long as possible, but unless you’re winning somewhere else, living as long as possible just isn’t good enough. He broke the enemy’s German command by killing its general, but that was too little too late, and we couldn’t catch up in elements before losing by attrition, 13-87.
In retrospect, in the best case scenario our knights on the right flank would still have been waiting for that combat to end before they could attack very strongly. The fact that we didn’t want to advance on our left flank gave the enemy Germans the time they needed to maneuver to our flank unhindered. It feels like we might have been better off deploying our Germans on the left, but then we would’ve had our knights facing their bad going, and we still wouldn’t have been able to flank them as easily as they could with bad going troops on the other side. In short: it’s better to have terrain to anchor both of your flanks, than only one of them.
 |
| Stooge stand-in Mark Pozniak, with stooge Larry. |
In round 2, we faced Larry Chaban and Mark Pozniak, using Larry’s “Jagoff” army: Medieval German IV/13d. With 6 war wagons and 6 artillery, this is a formidable beast.
They defended and Larry placed pool table terrain. They deployed “everything except the mounted” first, with supported pike protecting the war wagons and artillery. The Pike are too strong for our blades to beat consistently, and the war wagons don’t let us get any overlaps because they don’t recoil. Our only hope was running fast, killing some artillery, and taking advantage of gaps in the line.
We were left with the standard BBDBA attacker’s dilemma: when faced with a narrower force, which side do we deploy heavier on? Which flank do we want to attack, where do we want them to deploy their third command, and how do we deploy to encourage them to comply with our preferences? In this case we didn’t ask all of these questions, so we didn’t answer them.
For the Leidang, we used an interwoven command deployment: part of command A, then part of B, then the rest of A, then the rest of B. The theory was to be able to get localized 2-on-1 command advantage, but the downside is that it always costs more PIPs to maneuver the groups, and it lets them get 2-on-1 command advantage at different locations. We won’t be trying that again
In this game, we were basicaly trying to attack with our blades and knights while they attacked with their knights. The problem with this plan is that all else being equal, their knights are faster than our blades, so we have to hold them off longer than they’d have to hold us off.
We also learned a lesson about allied commands: they are unreliable. They can get high PIPs, but they can also get low PIPs. This makes them more well suited for less PIP-intense missions than “primary attacking force.”
This time, the force JM was using to hold off the enemy also happened to be our CinC. We did kill a few elements, but not many: we lost 8-92.
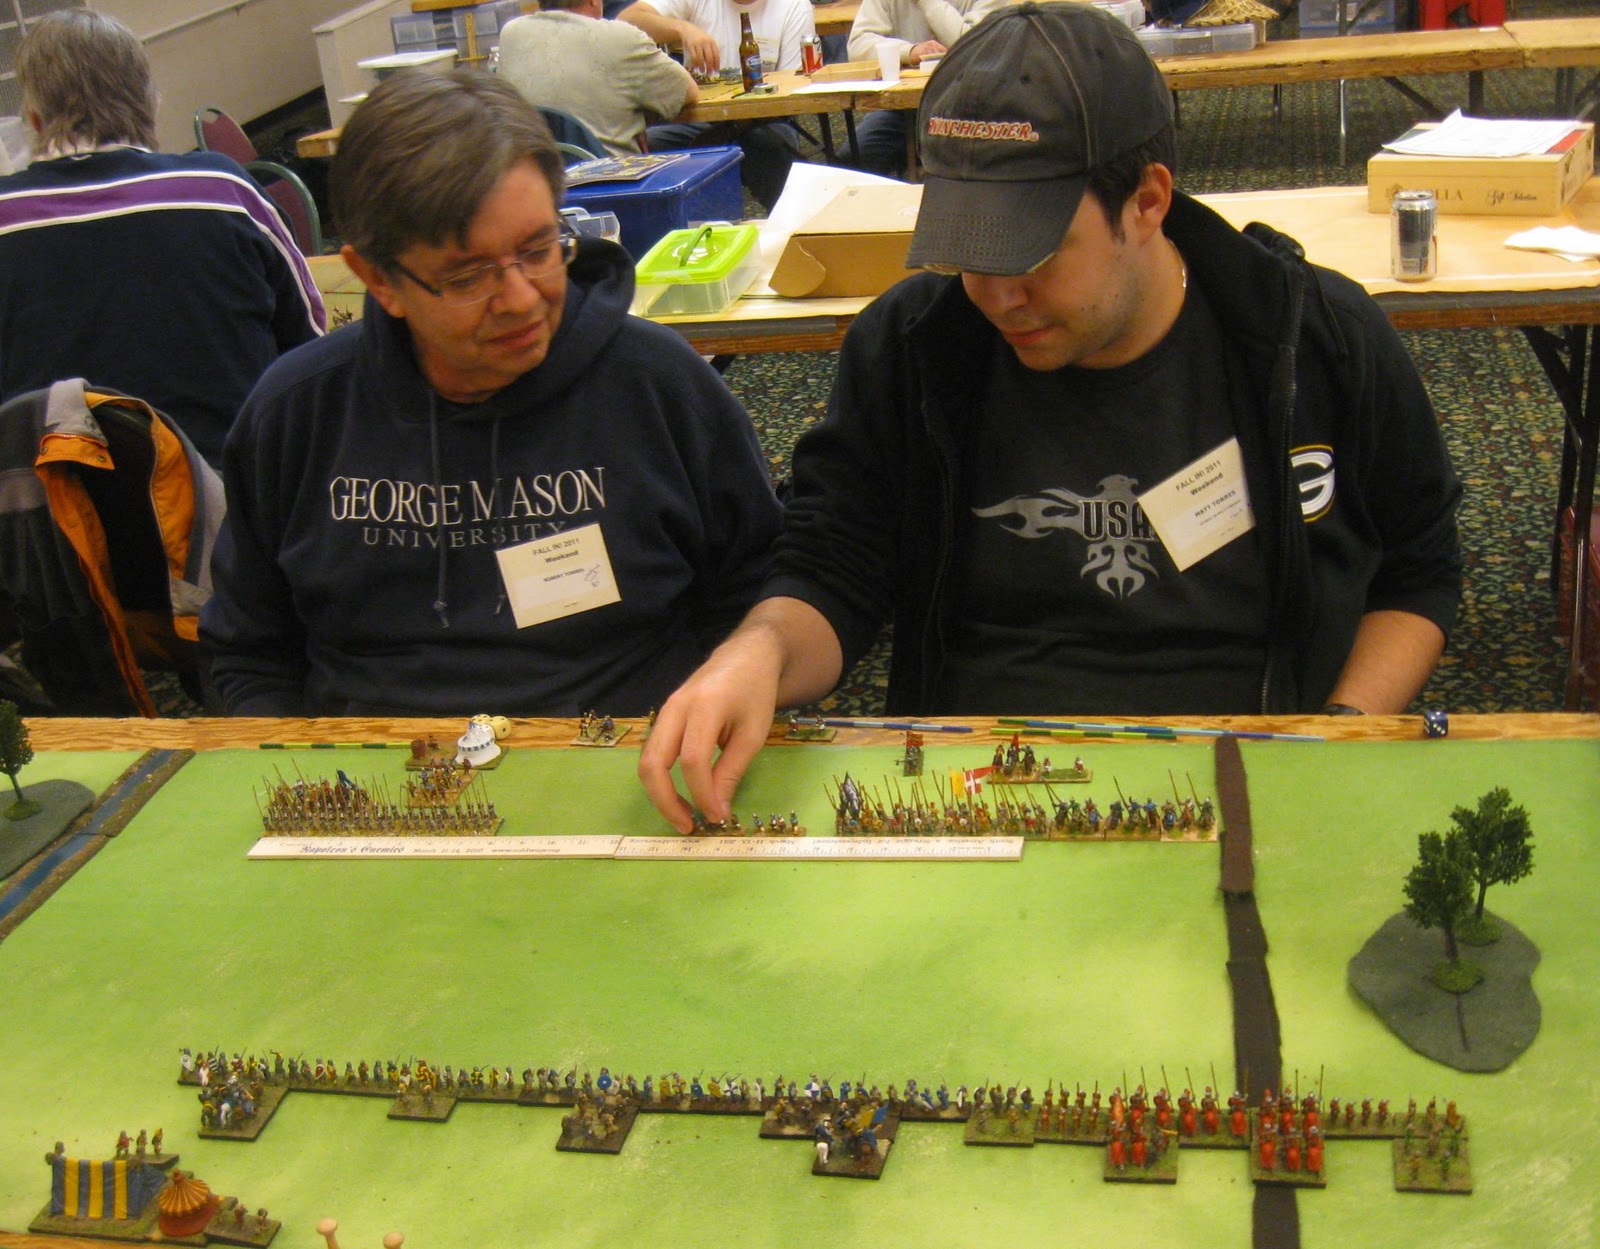 |
| Rob and Matt Torres place their center command. |
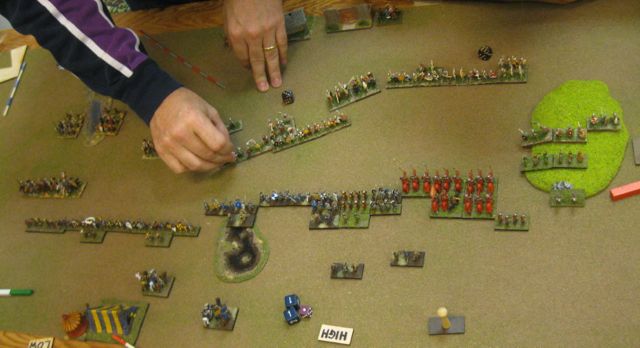
In our final round, we faced Robert and Matt Torres with their Low Countries army. They had lots of pike, with some artillery and knights in support.
 |
| Just before initial contact |
They won terrain and placed a river to narrow the board, with terrain on one flank. They deployed a pike block on each side with an empty space in the center for their artillery and blades. Our counterdeployment was simple: a straight line of blades against most of their pikes, with a flanking force of mounted and bad going troops on the one open flank. Our hope was to break the center and then hit both of their internal flanks from their center to break another command and destroy them.
Overall, our plan worked, but there was a flaw: neither of their weak commands we attacked was their CinC. Since we rarely have occasion to need to know how to win, we (or at least I) didn’t realize that demoralizing two commands isn’t enough, only attrition or demoralizing the CinC lets you win.
 |
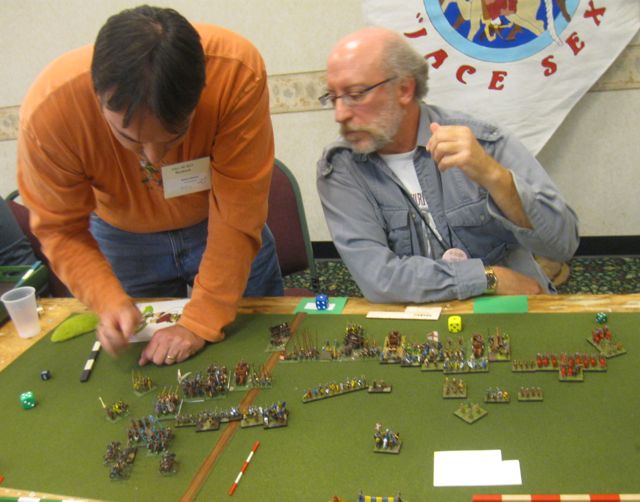
| The Aftermath |
In the end, we did kill their center and envelop and destroy them on our right flank; but we still needed to frantically kill elements while their strong CinC command hammered our low PIP command. We ended up losing one command, and almost lost our camp, but we survived long enough to win a 74-26 Pyrrhic victory.
Looking at these pictures, it becomes more clear to me that with heavy foot lines, you really don’t need to extend very far past the enemy’s flank to gain a significant advantage. We could’ve shifted our entire line left two elements and we’d have been better off on both flanks.
Finally, the Grey Wardens won a game! I think our next goal should be to end with more than 100 points. I feel that we made mistakes, but they were a bit more strategic in nature than in past events, and that we agreed on what we’d try, even though it didn’t work. At least I didn’t run my forces towards inevitable crushing defeat, like last time.
In the end, the Stooges and the Davids didn’t finish in time but still ended up first and second in our bracket, so they diced off to enter the finals. Larry and Mark went to the finals and won the event. Congratulations!
A Game of Ice and Fire
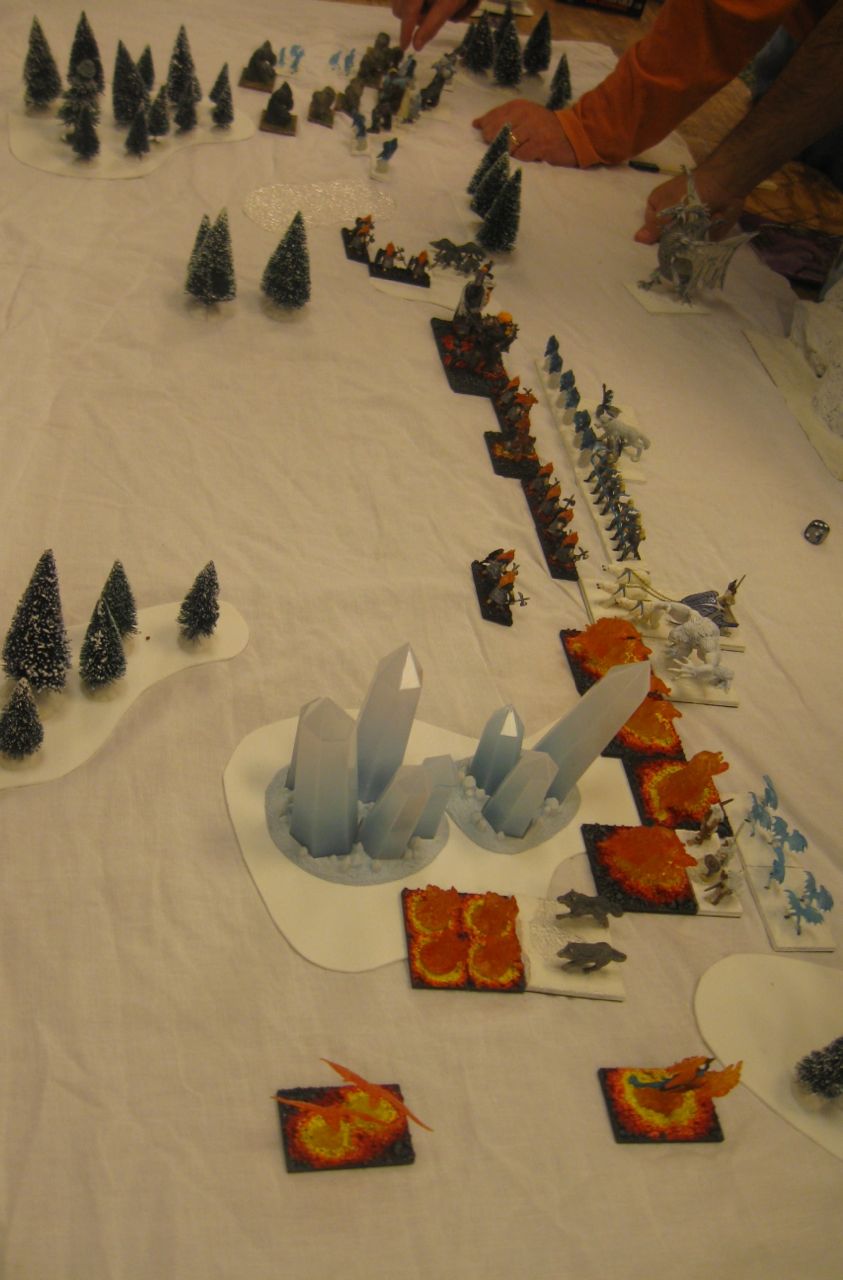 Because we knew we wouldn’t be participating in any other events during the time slot after Big Battle Doubles, JM and I arranged for a pickup game of Hordes of the Things against the Two Davids. This turned into 72 points of 3-on-3 mayhem.
The Ice Elementals, commanded by David Kuijt, David Schlanger, and Mark Pozniak, defended their barren icy wasteland from liberation by the forces of Fire and Earth commanded by me, JM, and Chris Brantley.
I didn’t get a good sense of the battle on the other end of this large table, but the general flow seemed to be: we melt them with our fire, and the resulting water puts out our fire. The earth elementals broke first through the loss of their general, followed by my complete annhiliation.
This was my first experience using the “large warband” variant rules, and I liked them a lot. The figures were pretty, and the terrain was also quite nice. Overall it increased my inspiration to play HOTT, and to complete some of my existing HOTT armies. I’ve started basing my own fire elemental army, using many of the same D&D figures seen here.
Oh yeah! JM and I also played a pickup game of Hordes of the Things, Ewoks vs. Undead. I was not at all put off by the weird combination of troops, it really didn’t seem any worse than fighting ahistorical matches in DBA once you got the figures on the table.